
 |
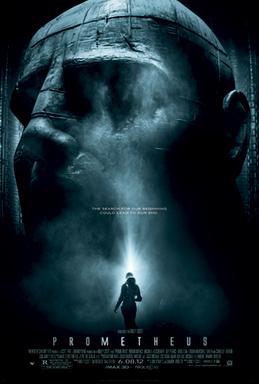
| mmmm giant easter island head. |
The film basically relates to the Alien series and has a plot which is set in the late 21st century and revolves around the crew of a spaceship Prometheus, as they follow a star map they found in old caves in Iceland or something. At which point they decide to search for the origin of humanity and end up on a planet with Aliens and stuff (who don't like the humans).
Another thing I should probably mention about this film is that it's cast is outrageously well known, and equally attractive. I love watching Charlize Theron doing anything. Even being a serial killer.
| I just can't get over how different they look! |
Maybe I should have done a blog on the makeup in Monster.. an idea for next time.
| soooo prreeeetttyyyyy |
Now in the film prometheus there are two areas of effects that are worth looking at;
1. The effects used on the creature, alien or whatever you'd like to call it
2. the visual effects used on the film in it's entirety
I guess the creature would have it's own category because it looks SO REAL!
Anyway here we go
Creature Effects.
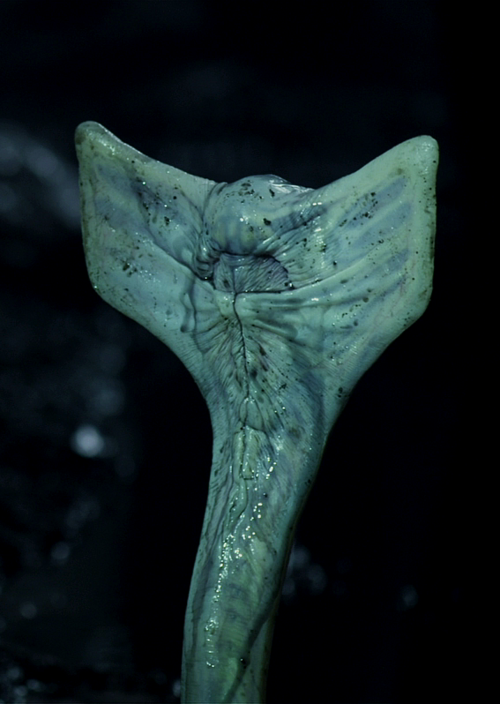
| The Hammerpede |
The films designers and visual architects strove to create a create that was biologically plausible.. Meaning that everything had to be somewhat realistic looking. They drew most of their inspiration from real life aquatic creatures. The snake like alien dubbed the "Hammerpede" was brought to life through a mixture of computer generation (CGI) and some practical effects. In the final edit the wires and controls used on the practical model of the hammerpede were digitally removed.
(spoiler alert!!!!)
 |
| ew |
(spoiler alert!!!!)
In the scene where the Hammerpede is decapitated, a model head was used as a replacement, and the spontaneous regeneration of the head was done through computer generation. The practical model of this was a remotely operated animatronic creation which was encased in a silicon skin. The mutated Fifield effects were acheived mainly through the use of make up and prosthetics. Due to concerns that the practical effects would be unsatisfactory , the filmmakers completed an alternative version of the sequence in which Fifield was rendered as a digital character with elongated limbs and an engorged transluscent head, incorporating a semblance of Harris's face, other models were made but they were all deemed as too "inhuman"
This was the alternate version, I'm glad they went with the original.

ew
Visual effects:
This film approximately contains 1300 digital effect shots. The creation of life from the disintegration of an engineer was created by WETA digtal. This scene was particularly difficult to produce because it had to convey the story of the engineers DNA breaking apart. The team focussed on making the DNA stages distinct to convey it's changing nature. Scott requested the audio to focus on the destruction occuring within the engineer. A light colour scheme was used for the Engineers DNA and decayed fish spines were used as an image reference for this. In order to depict the DNA destruction, the team carved vein like structures from silicon and pumped black ink and oils into them while filming the changes over an extended period of time.
| :( |
SO all in all the film prometheus contains highly sophisticated and laborious visual techniques which were up t standard with Ridley Scotts prior films.
Also
 |
| huehuehue |


